For a child who can't reliably tap the screen, Switch Scanning highlights cells automatically and waits for a single press to choose. Here's how to set it up.
Turning it on
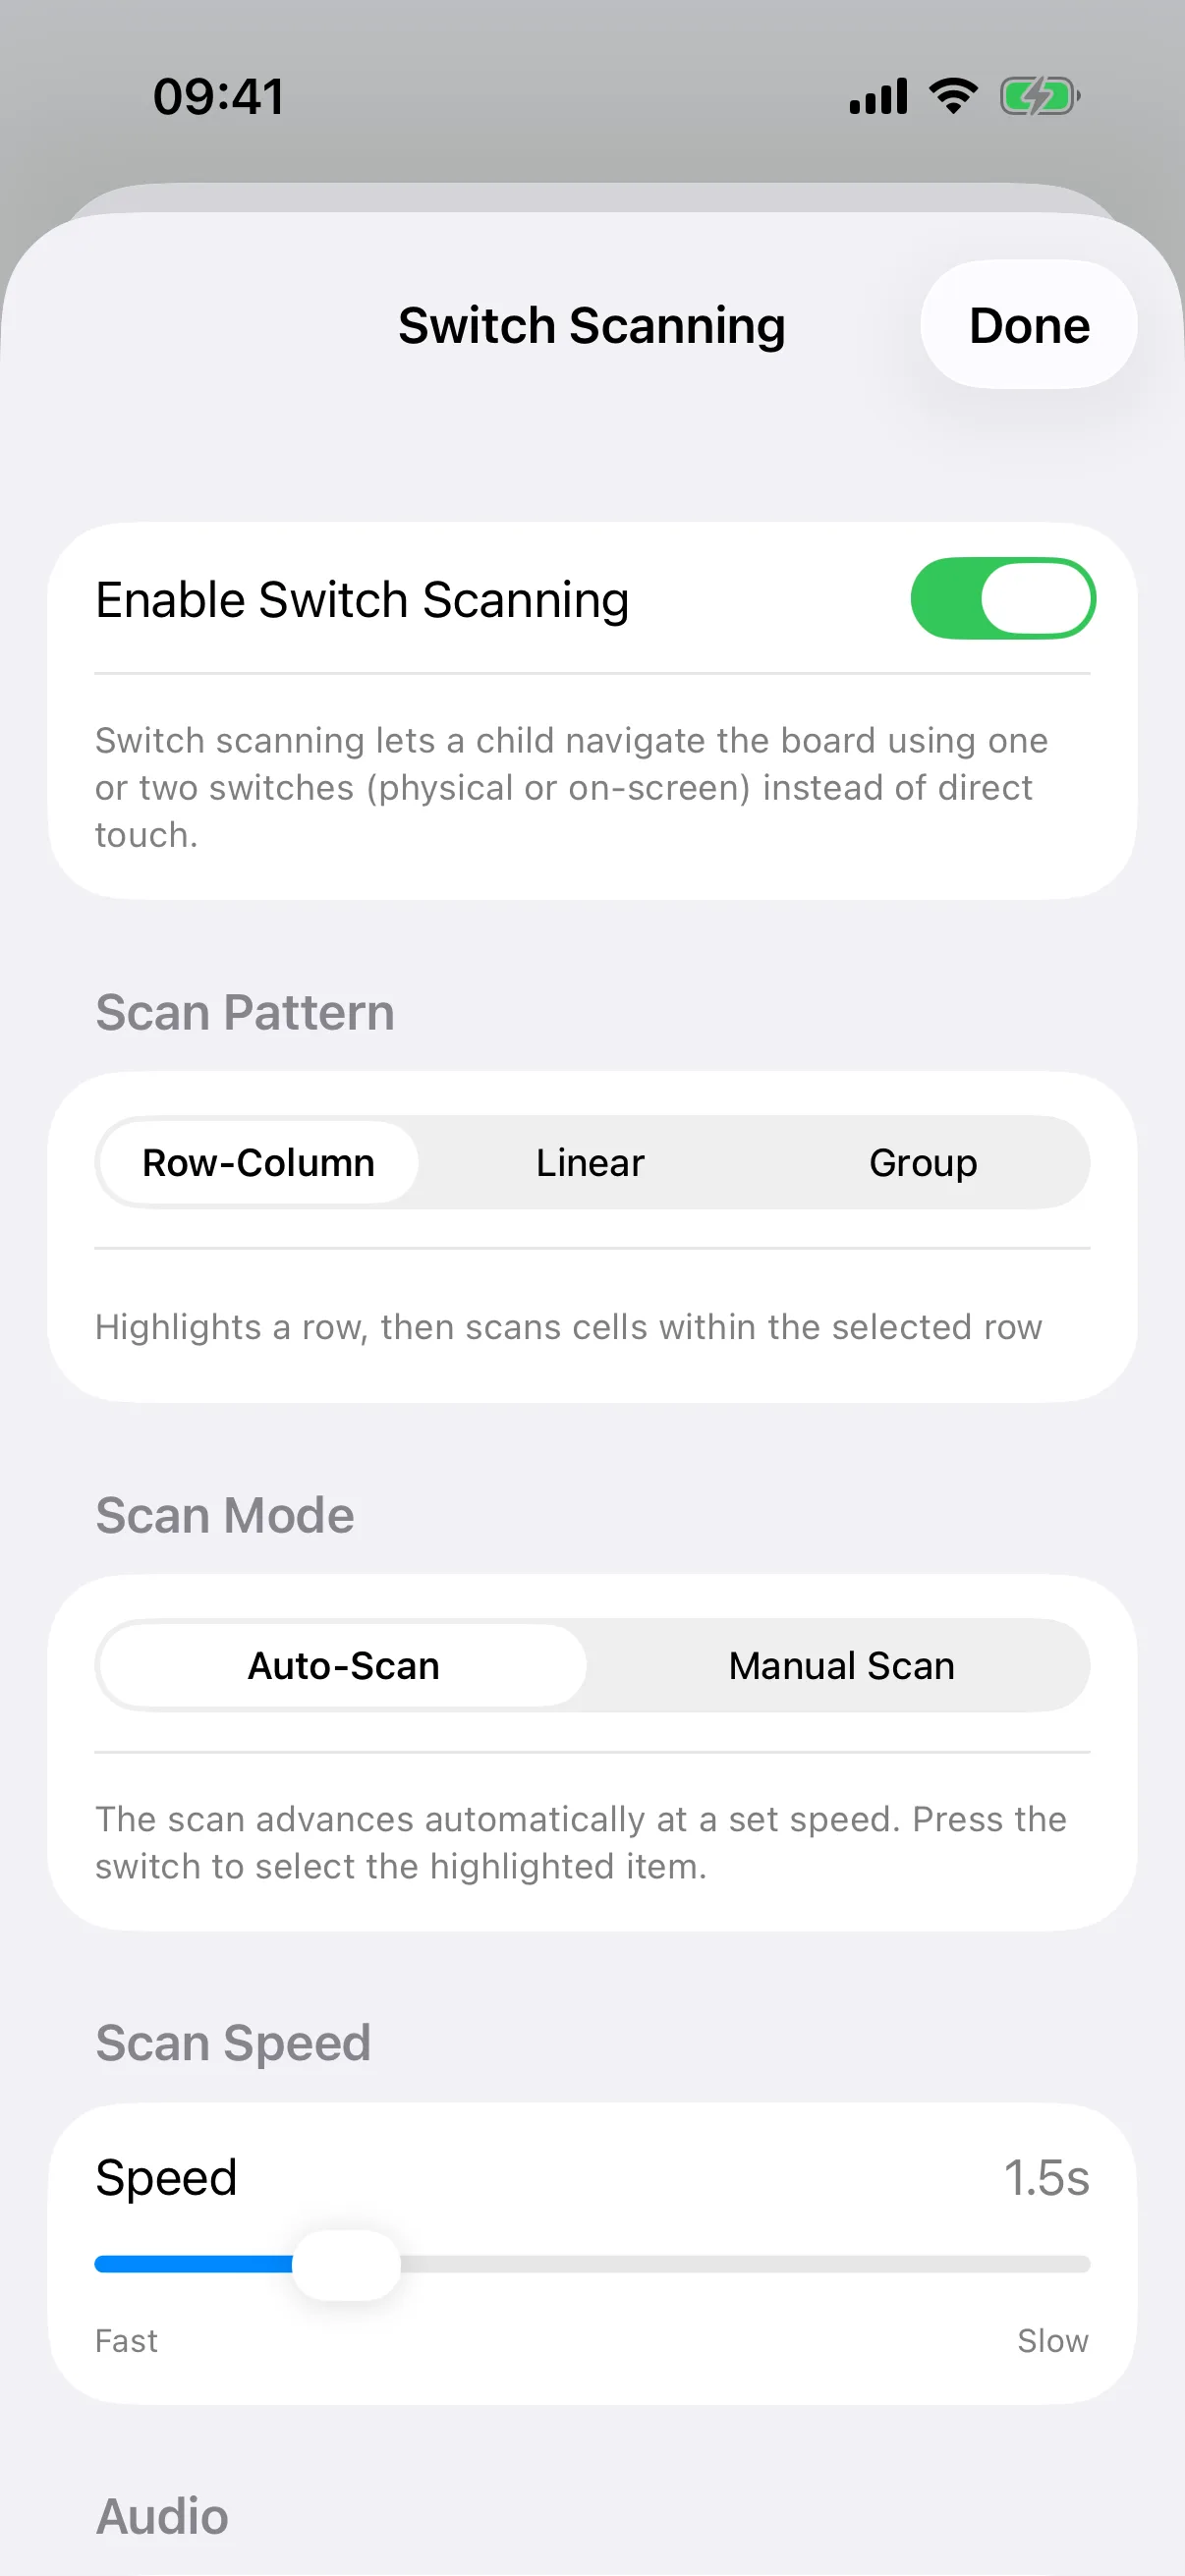
Open Manage → Settings → Accessibility → Switch Scanning and turn on Enable Switch Scanning. A large on-screen switch button appears at the bottom of the board immediately, so you can try it before any physical hardware is involved.
Choosing a scan pattern
Row-Column highlights a row, then the cells inside it, the fastest option for larger grids. Linear scans cell by cell in order, simplest to learn. Group highlights groups of rows first, then narrows to a single cell, useful for very large boards.
Auto-Scan or Manual Scan
Auto-Scan moves the highlight on a timer you set the speed for, so a single switch press just selects. Manual Scan only moves when the switch is pressed, giving a child with inconsistent timing full control over the pace. You can also set the highlight colour and a sound for each scan step.
Using a physical switch
Pair any switch as a Bluetooth device in your iPhone or iPad's own Settings app, not inside SpeakPad. Once paired, it drives SpeakPad's scanning directly, so you no longer need iOS's built-in Switch Control turned on at the same time.
Explore more caregiver tools
Everything else customisable in SpeakPad, from board packs to Modeling Mode, lives behind the same parental gate.
Guide: Editing Boards →